Deploying Edge SWG Virtual Appliance on Azure
1. Download the Installation Package
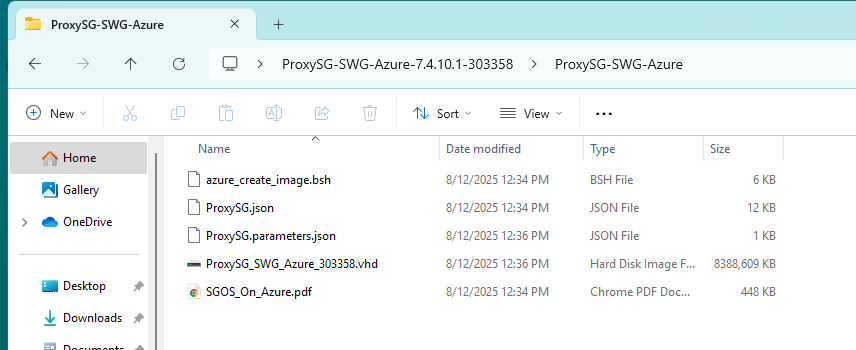
From the Broadcom support portal, download the Edge SWG Azure installation package.
This package includes:
- The VHD file (e.g.,
ProxySG_SWG_Azure_****.vhd) - The
azure_create_image.bshscript - The official installation instructions
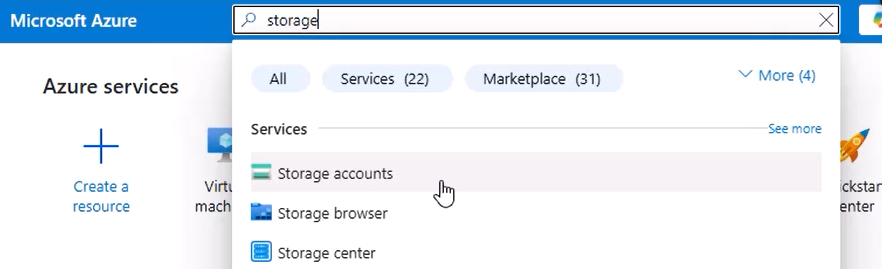
2. Create a Storage Account in Azure
- In the Azure Portal, search for Storage Accounts and click + Create.
- Enter a Storage account name (letters/numbers only — no hyphens or special characters).
- If you do not have a Resource Group yet, create one.
- Region: Select an appropriate region — note that prices vary, and cross-region transfers may incur extra costs.
- Performance/Redundancy: Choose defaults unless you have specific requirements.
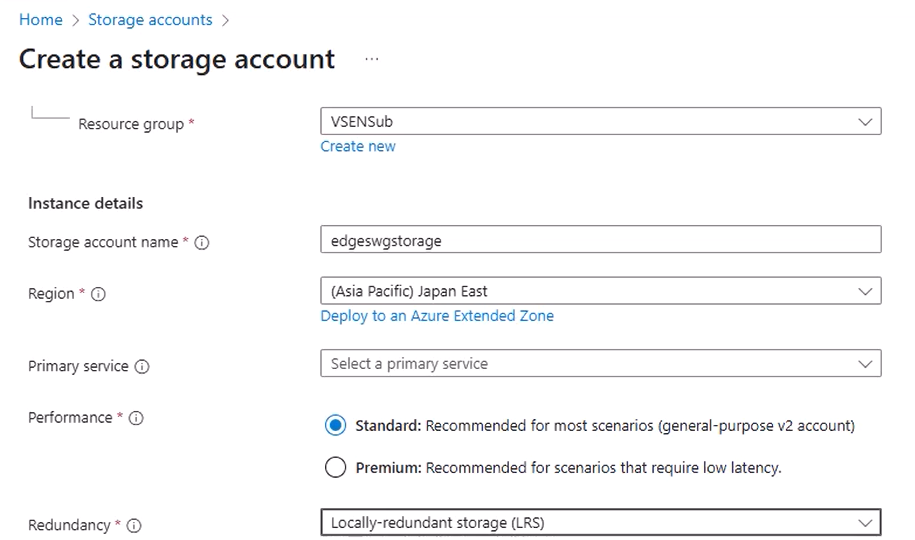
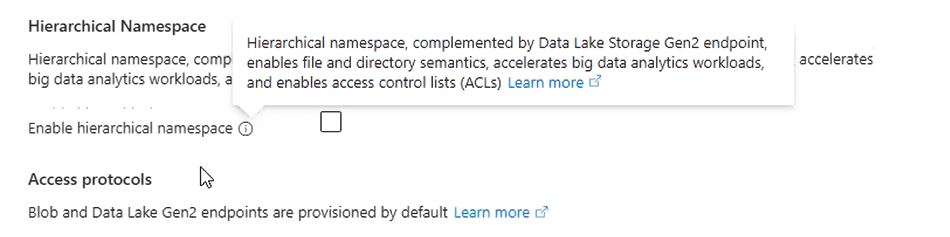
- Ensure Hierarchical namespace is disabled.
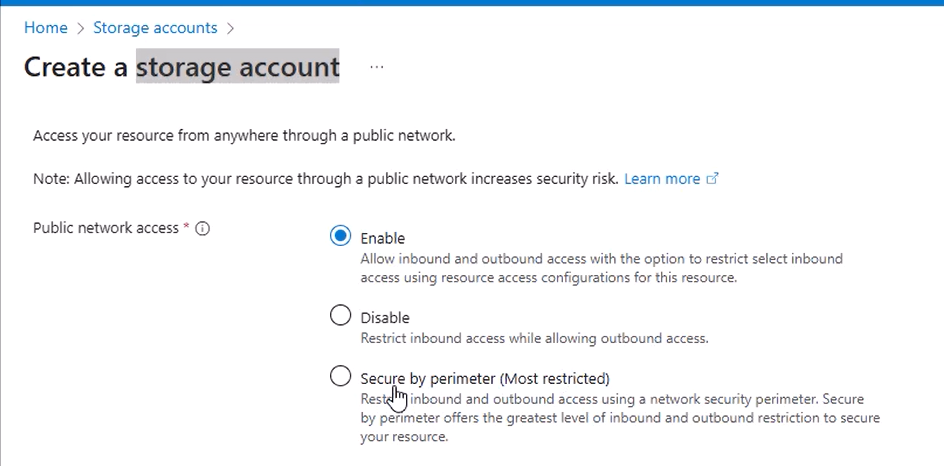
- Ensure Public network access is enabled (required for upload).
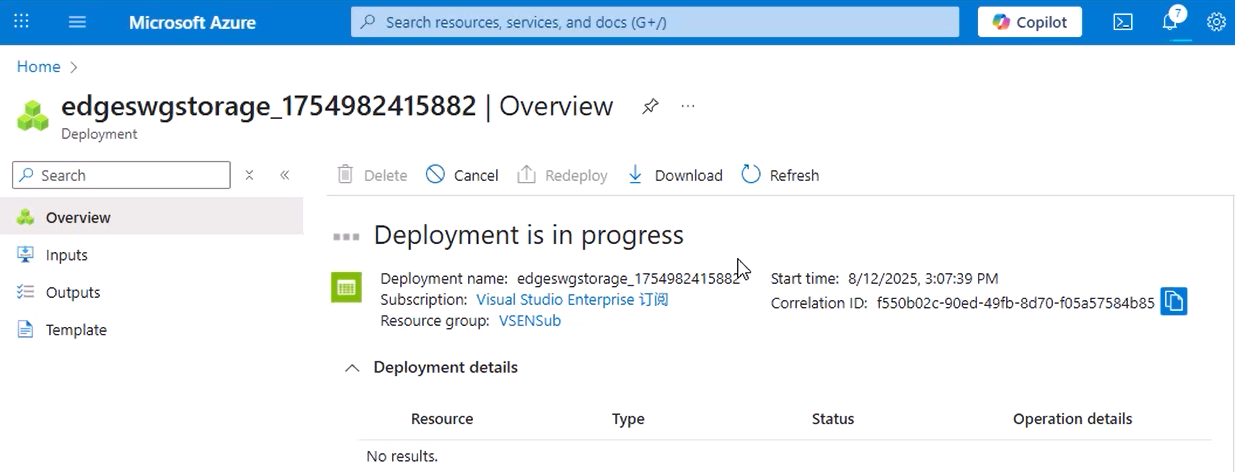
Click Review + Create, then Create. Deployment takes a few minutes.
3. Create a Container and Upload the VHD
- Go to your new Storage Account → Containers → + Container.
- Give it a name (e.g.,
vhds) and create it.

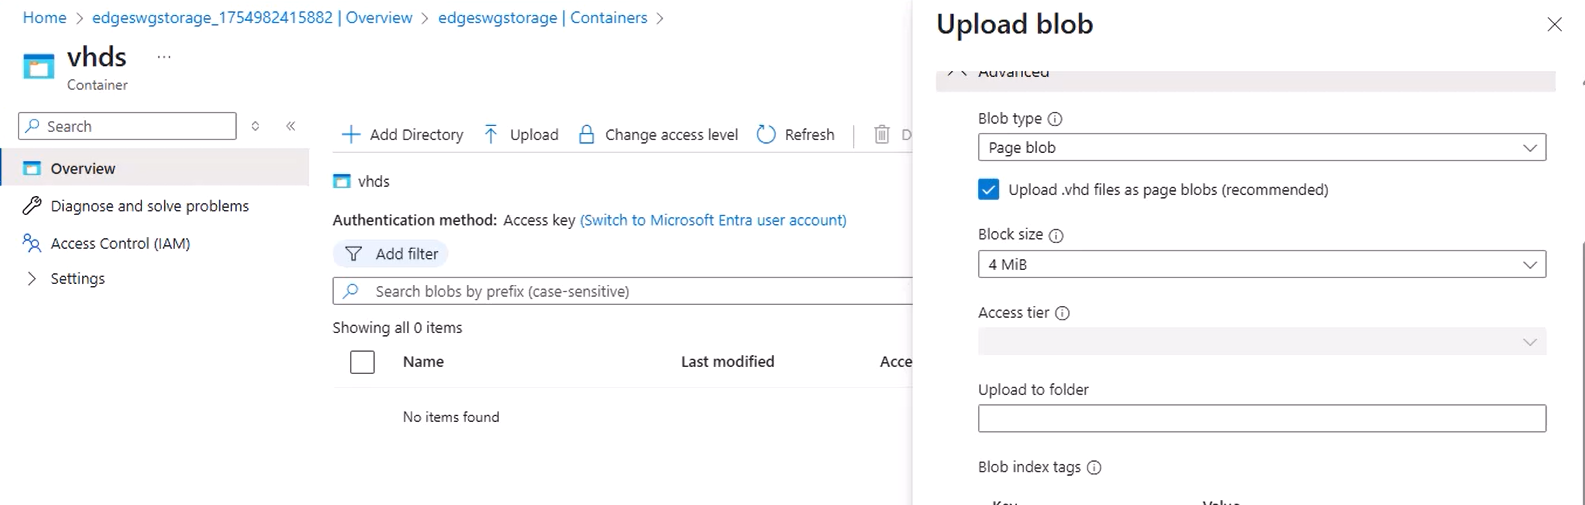
- Inside the container, click Upload.
- Select your
ProxySG_SWG_Azure_****.vhdfile from the installation package. - Important: Set Blob type to Page blob — Azure requires page blobs for OS disks.
- Click Upload and wait for completion.
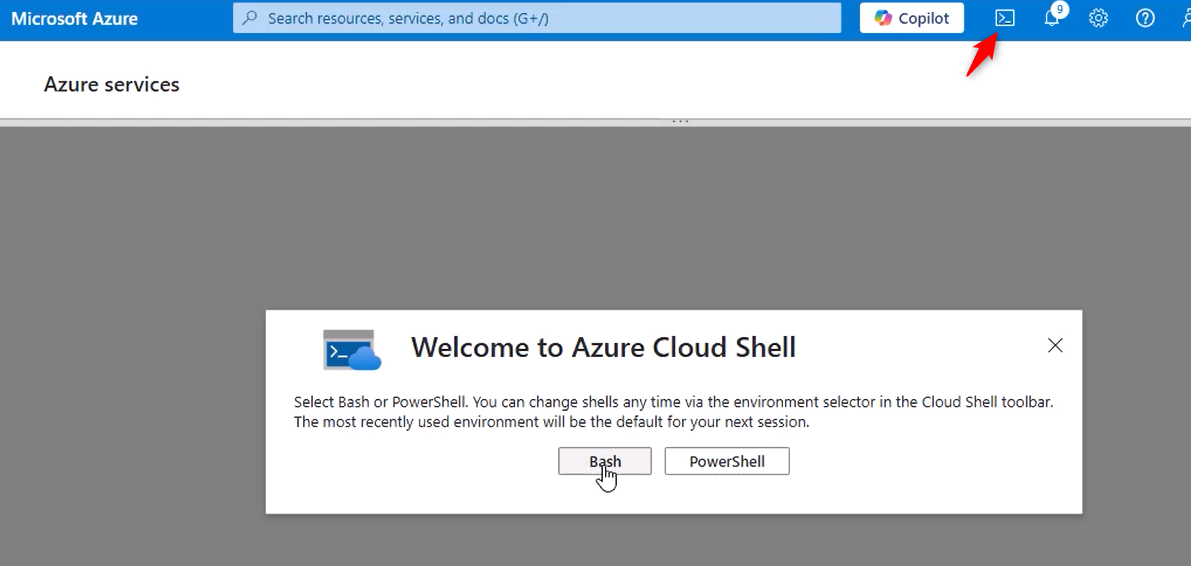
4. Prepare Azure Cloud Shell
- In the Portal’s top navigation bar, click the Cloud Shell icon.
- If this is your first time, follow the Getting Started setup:
- Choose Bash.
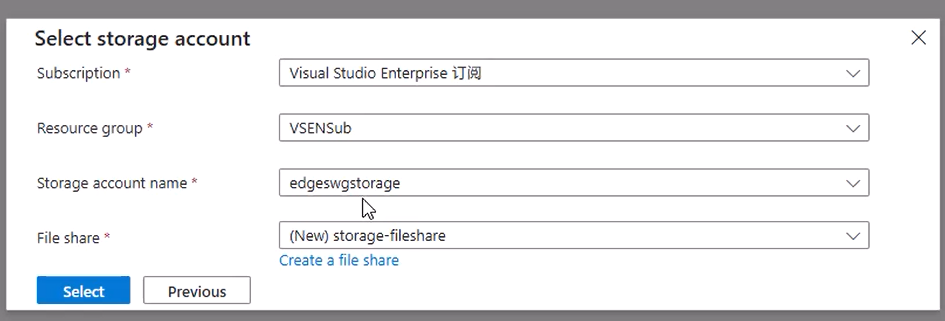
- When prompted for storage, select the Storage Account you just created.
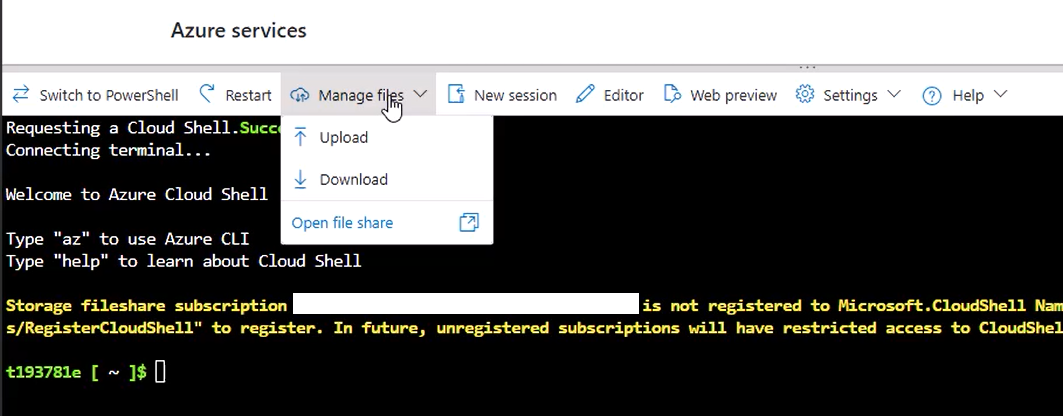
- Once initialized, you will see a shell prompt.

5. Upload and Run the Deployment Script
- In Cloud Shell, upload the
azure_create_image.bshscript from the installation package. - Use the Upload/Download files button in the Cloud Shell toolbar.
- Make it executable:
bash chmod +x azure_create_image.bsh - Run the script with the following format:
./azure_create_image.bsh \ --image-name <va-image-name> \ --location <resource-group-location> \ --resource-group <resource-group-name> \ --subscription <subscription-id> \ --storage-account <storage-account-name> \ --container <container-name> \ --os-disk <os-disk-name>
Parameter details:
--image-name: Name for the Managed Image (e.g.,edge-swg-img).--location: Azure region (must match Resource Group’s region).--resource-group: Resource Group name.--subscription: Subscription ID (find under Subscriptions in Portal).--storage-account: Your Storage Account name.--container: The container holding the VHD.--os-disk: The VHD file name inside the container.

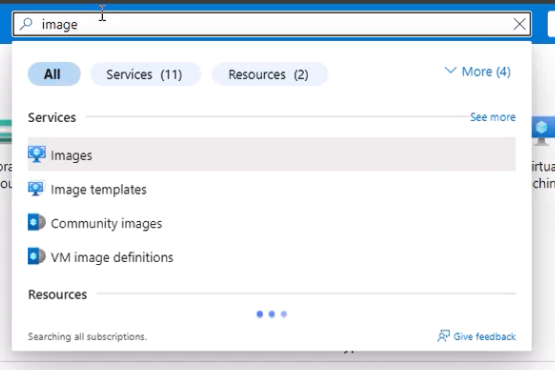
6. Create the Virtual Machine
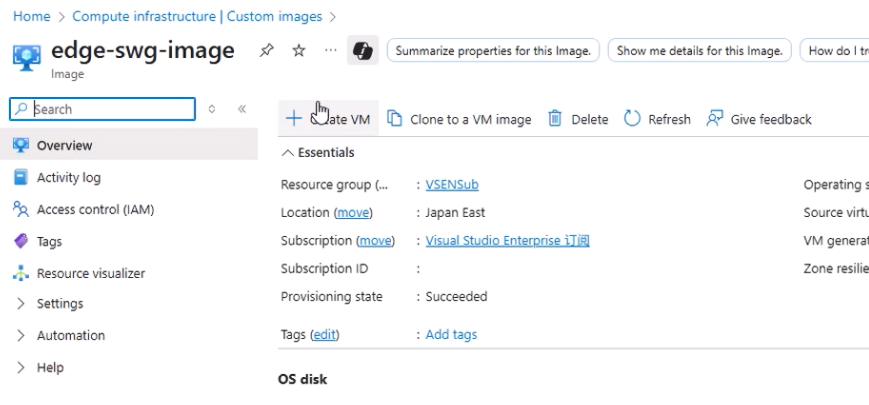
- Go to Images in the Azure Portal and select the image created by the script.

- Click + Create VM.
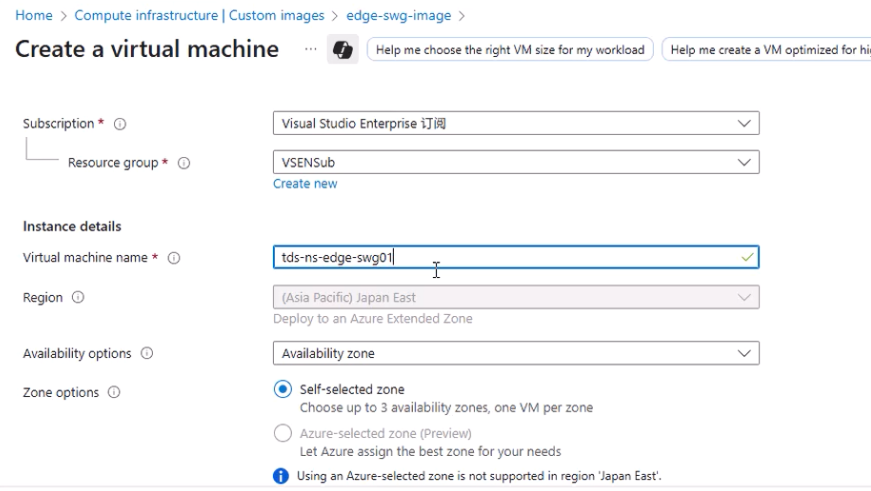
- Basics:
- VM name (e.g.,
edge-swg-01) - Region will be pre-selected (from image)
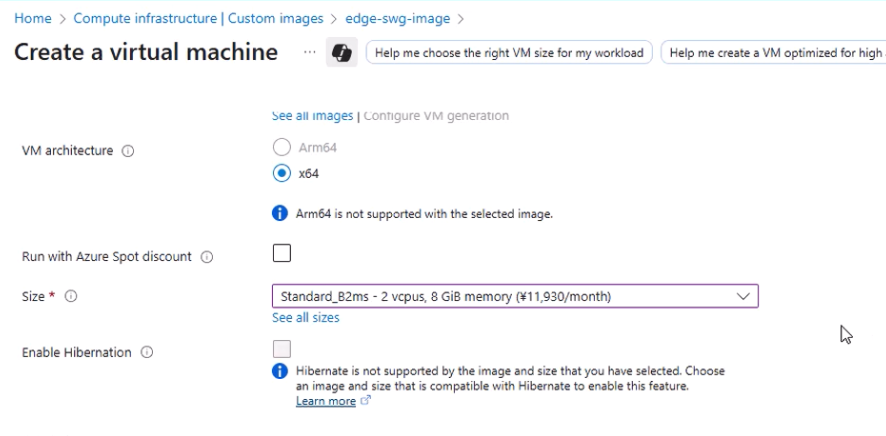
- Size: Minimum 2 vCPUs, 8 GB RAM. In this example: B2ms
- VM name (e.g.,
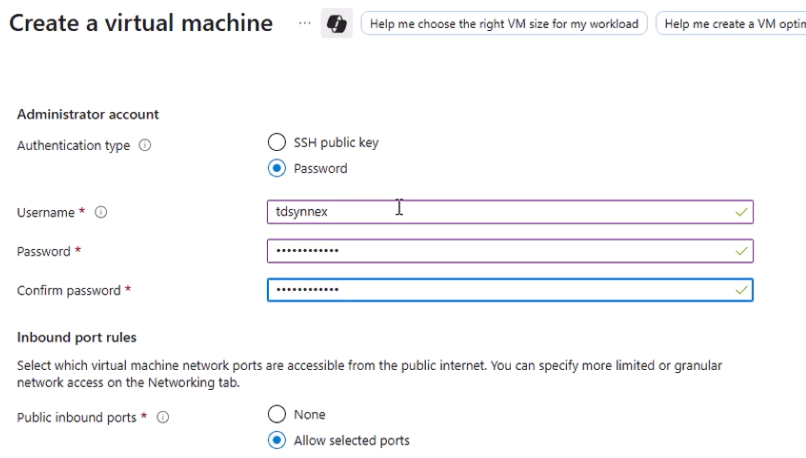
- Authentication:
- Choose SSH public key or Password (password used in this guide).
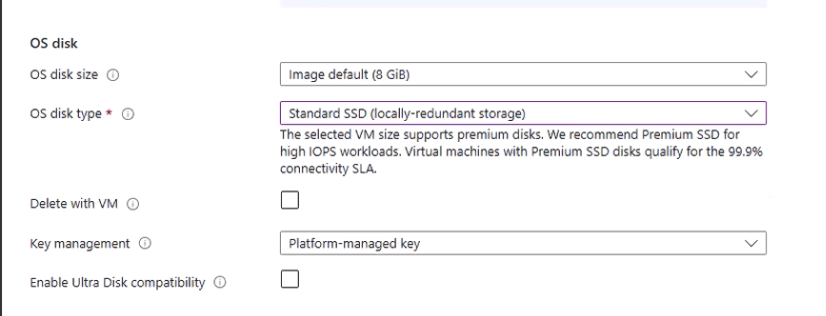
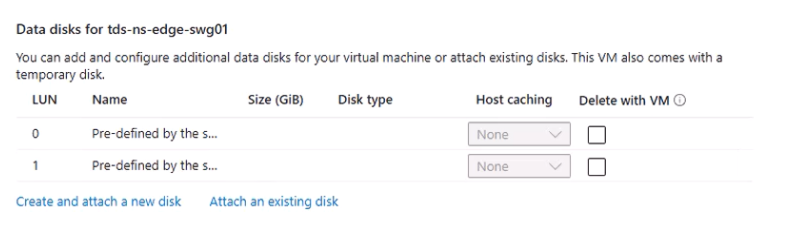
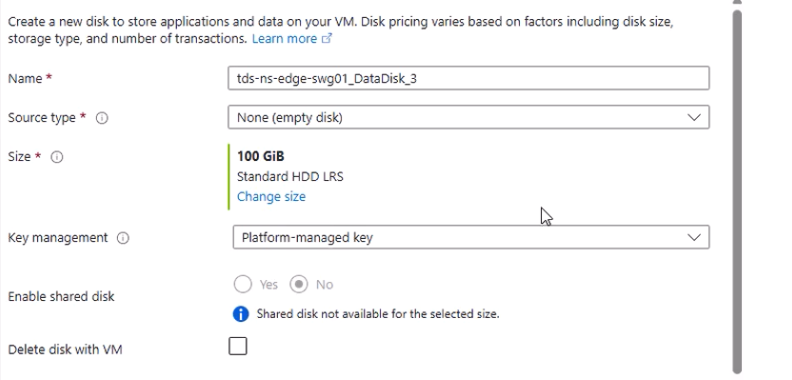
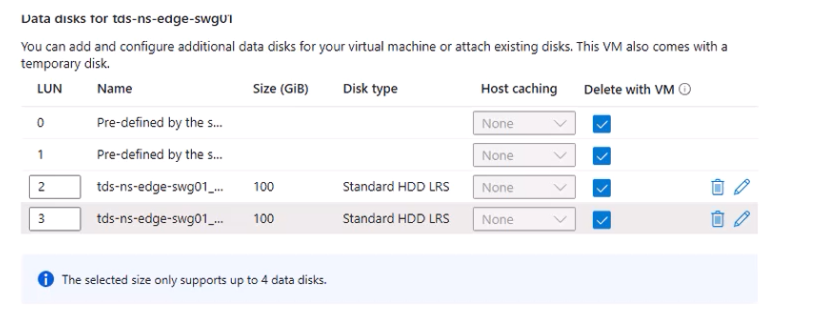
- Disks:
- The OS disk is preconfigured.
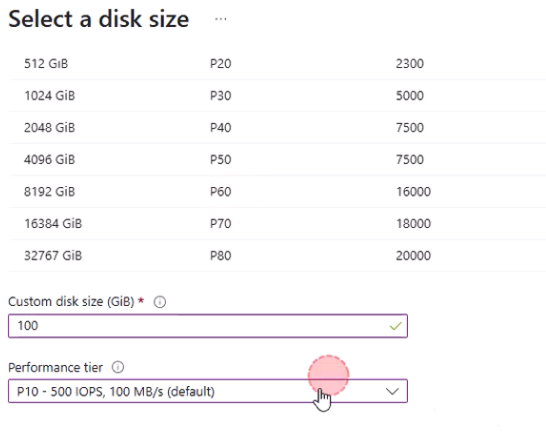
- Add two additional 100 GB data disks (HDD to save costs).
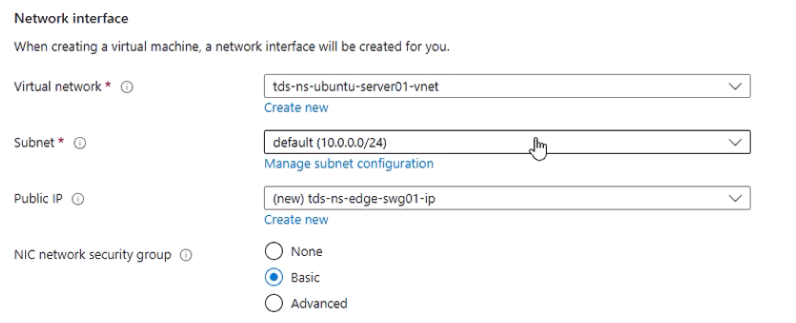
- Networking:
- Attach to your target VNet and Subnet.
- Initially add a Public IP for configuration convenience (you can remove it later).
- Click Review + Create → Create. Deployment takes several minutes.
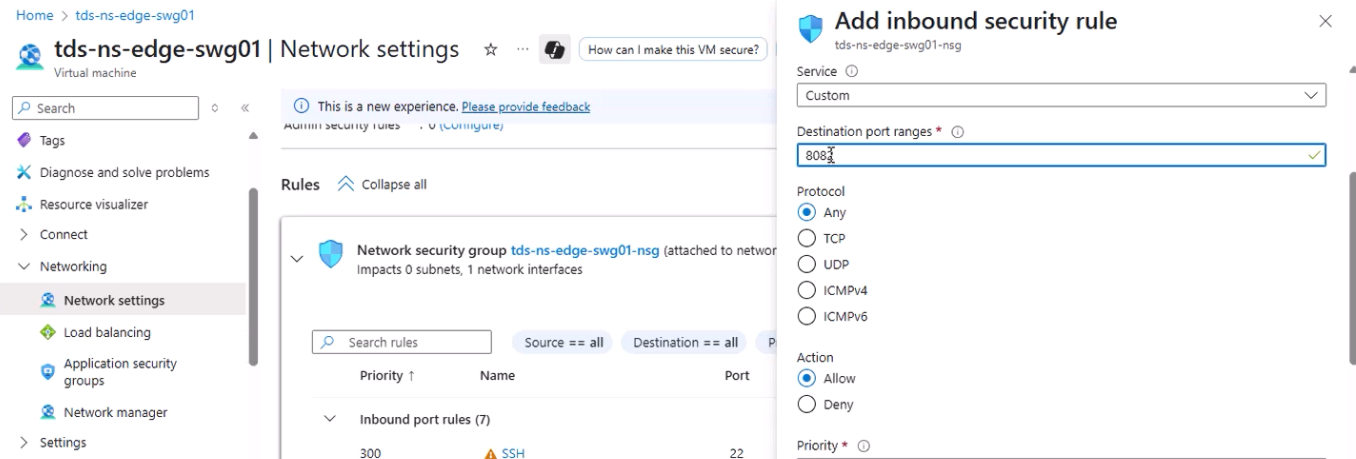
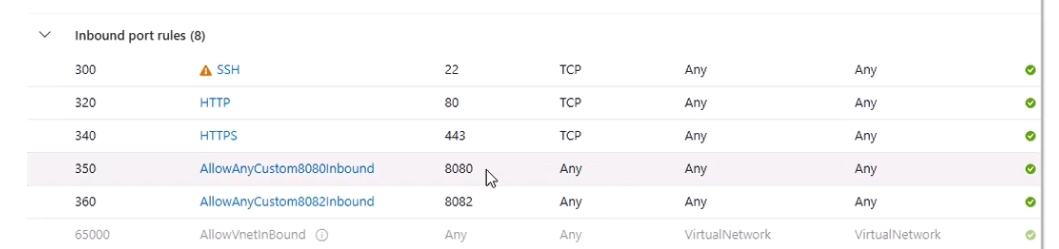
7. Configure Network Security Rules
- Go to the newly created VM → Networking.
- Edit the Network Security Group (NSG) to allow:
- TCP 22 (SSH)
- TCP 8080 (Proxy)
- TCP 8082 (HTTPS management console)
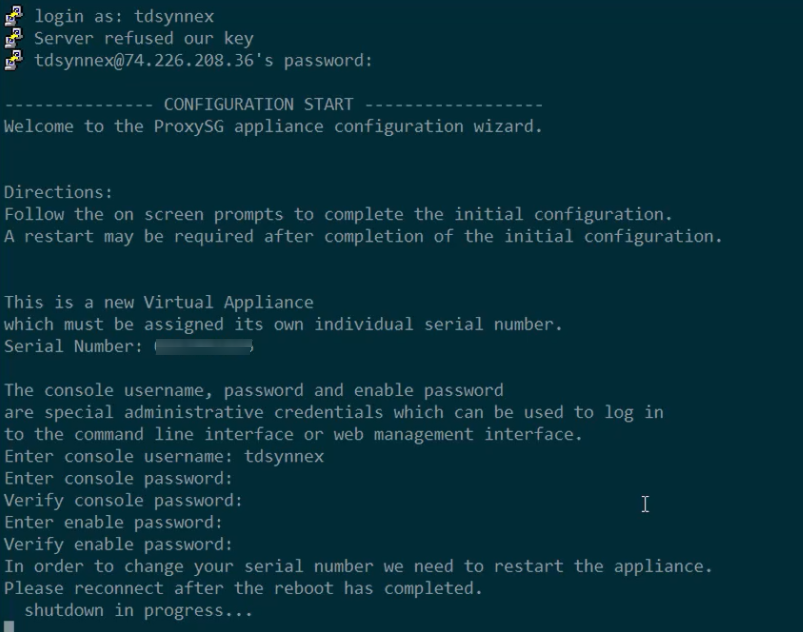
8. Initial Appliance Setup
- SSH into the VM using the Public IP and the credentials you configured.
- Complete the initial Edge SWG configuration in the CLI.
- Reboot the appliance.
9. Access the Web Management Console
- In a browser, go to:
https://<VA_IP>:8082
- Log in with the credentials you set.
10. Install the License
- Navigate to Maintenance → Licensing in the web console.
- Click Retrieve or Install License.
- Log in with your Broadcom Support account to download and apply the license.
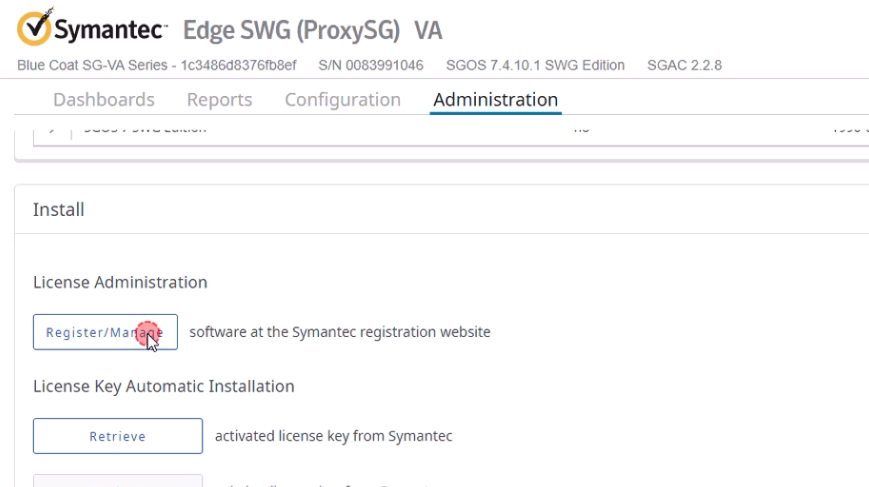
Refresh the page and confirm the license status is active.

11. Post-Deployment Notes
- Remove Public IP if not needed.
- Restrict NSG rules to trusted IPs.
Recent Comments